transition wild
Off
By Adam Parr
With shed hunting season well underway in Colorado, I thought I would offer up a few tips for the novice shed hunter looking to find that precious prize. If you lack experience in the world of shed hunting, sometimes you can feel overwhelmed when it comes to getting started. As with anything in life, the more you practice and the more time you put in, the better you will get. To make things easier for the inexperienced shed hunter, I’ve put together a “new-school” quick-start-guide to get you off and running in pursuit of that brown gold!
When it comes to shed hunting a western state like Colorado, the amount of public land can seem endless and finding a spot to start can be overwhelming. Luckily for you, there are numerous ways to utilize technology to your advantage before you ever step foot outside.
One of my favorite programs is Google Earth, which is an invaluable mapping tool and can be downloaded for free. If you aren’t familiar with Google Earth, think of it as a much more interactive, detailed version of Google Maps, where you can see land contours and mark locations much like on a handheld GPS.
Now you might be saying, well this all sounds great but I still have no clue as to where to begin to find shed antlers. Luckily for you, Colorado Parks and Wildlife have developed Google Earth (KMZ) Species Maps that are available for download for free and provide a map overlay of species activity. For example, if you were looking to specifically pursue elk shed antlers, download the elk .kmz file, study their winter concentration areas and figure out an initial game plan based on that information.
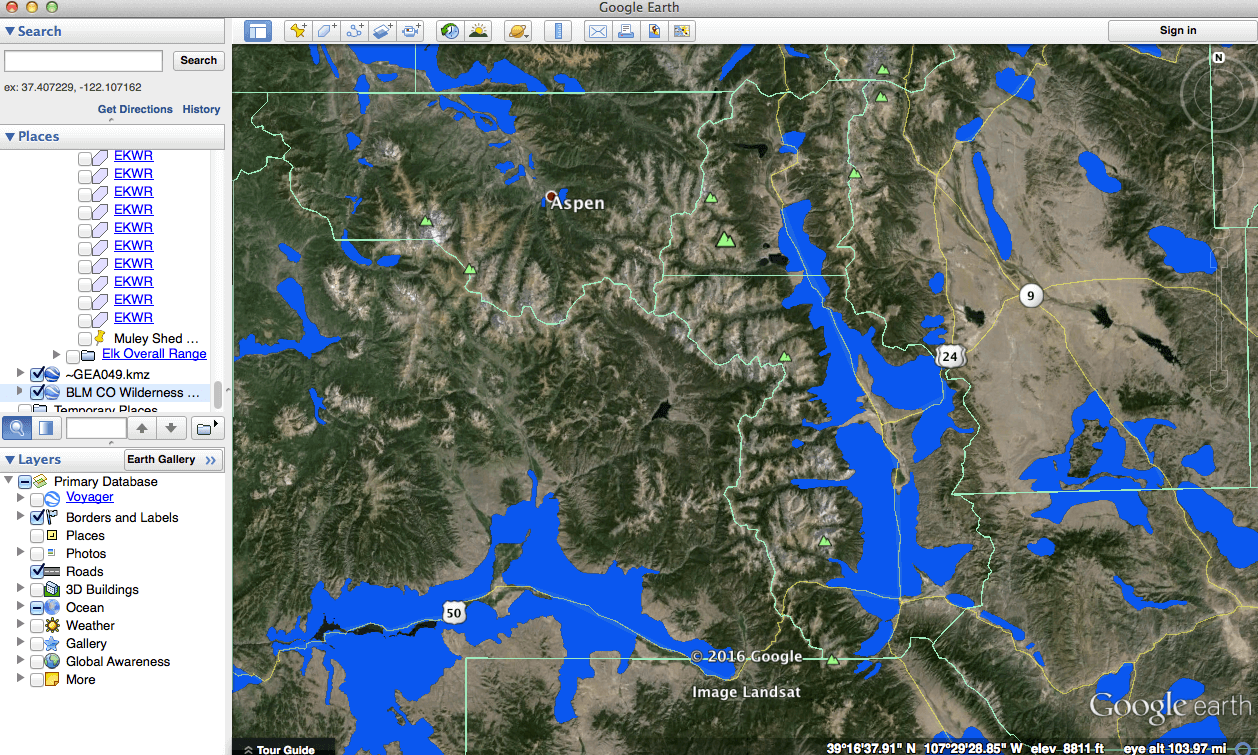
The areas in blue show Winter concentration areas for elk in Colorado.
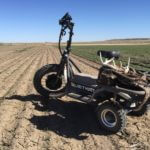
My other go-to piece of technology is the OnXMaps Hunt App available for download on iOS or Android. Colorado is home to millions of acres of BLM and National Forest areas available for public recreational use but there are often private lands mixed in between. Public land versus private tracts can be tough to recognize if you are unfamiliar with the area so it is imperative to be 100% certain for trespassing considerations. OnXMaps shows you exactly where public and private land boundaries are located and allow you mark spots and utilize different overlays much like a handheld GPS.
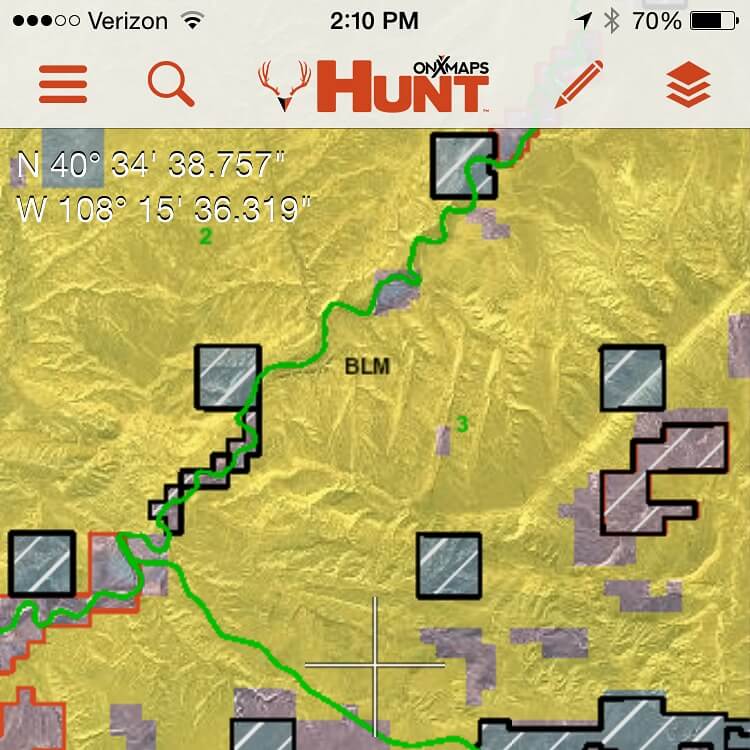
One of the greatest features about OnXMaps is that it shows public and private land ownership, giving you peace of mind when accessing hunting areas.
This app costs $35 per year but in my opinion, is well worth the money because it is extremely important to know which lands are available to access and which ones are off limits due to private ownership. Here’s another quick tip: Go join Rocky Mountain Elk Foundation (RMEF) for $35 and receive a 1-year free subscription to OnXMaps Hunt!
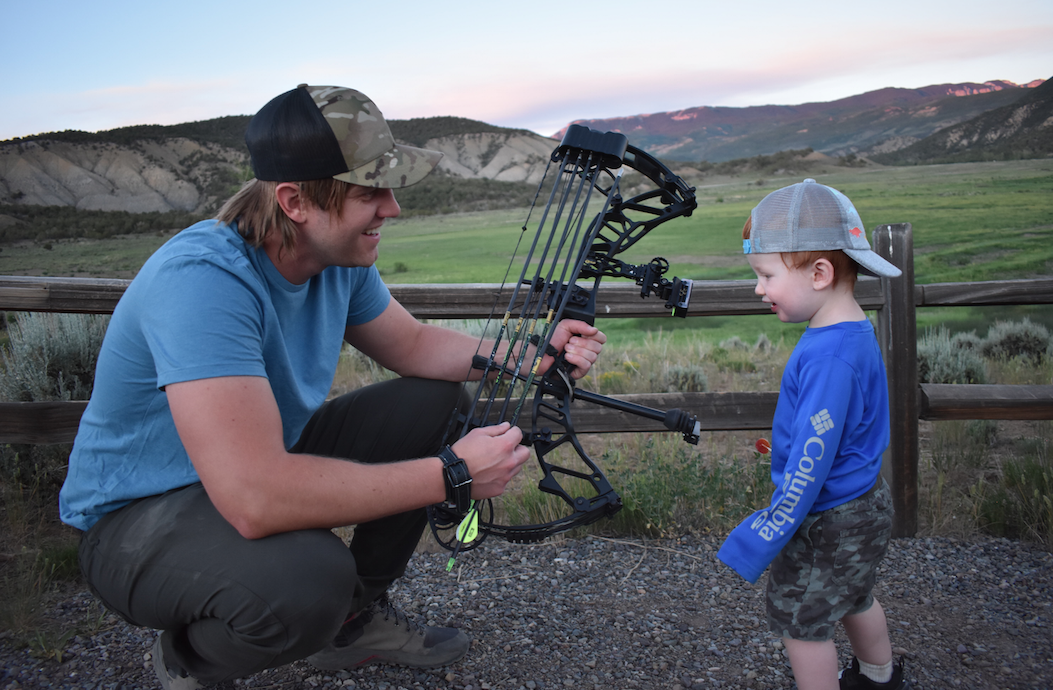
As with anything in life, there is a learning curve to anything you do, whether it’s golfing, playing guitar, becoming a better public speaker, weight lifting, etc. The same holds true for shed antler hunting, especially in the mountains of Colorado. If you want to more quickly overcome the learning curve of shed antler hunting, it would be beneficial to befriend someone who is a proficient shed hunter themselves.
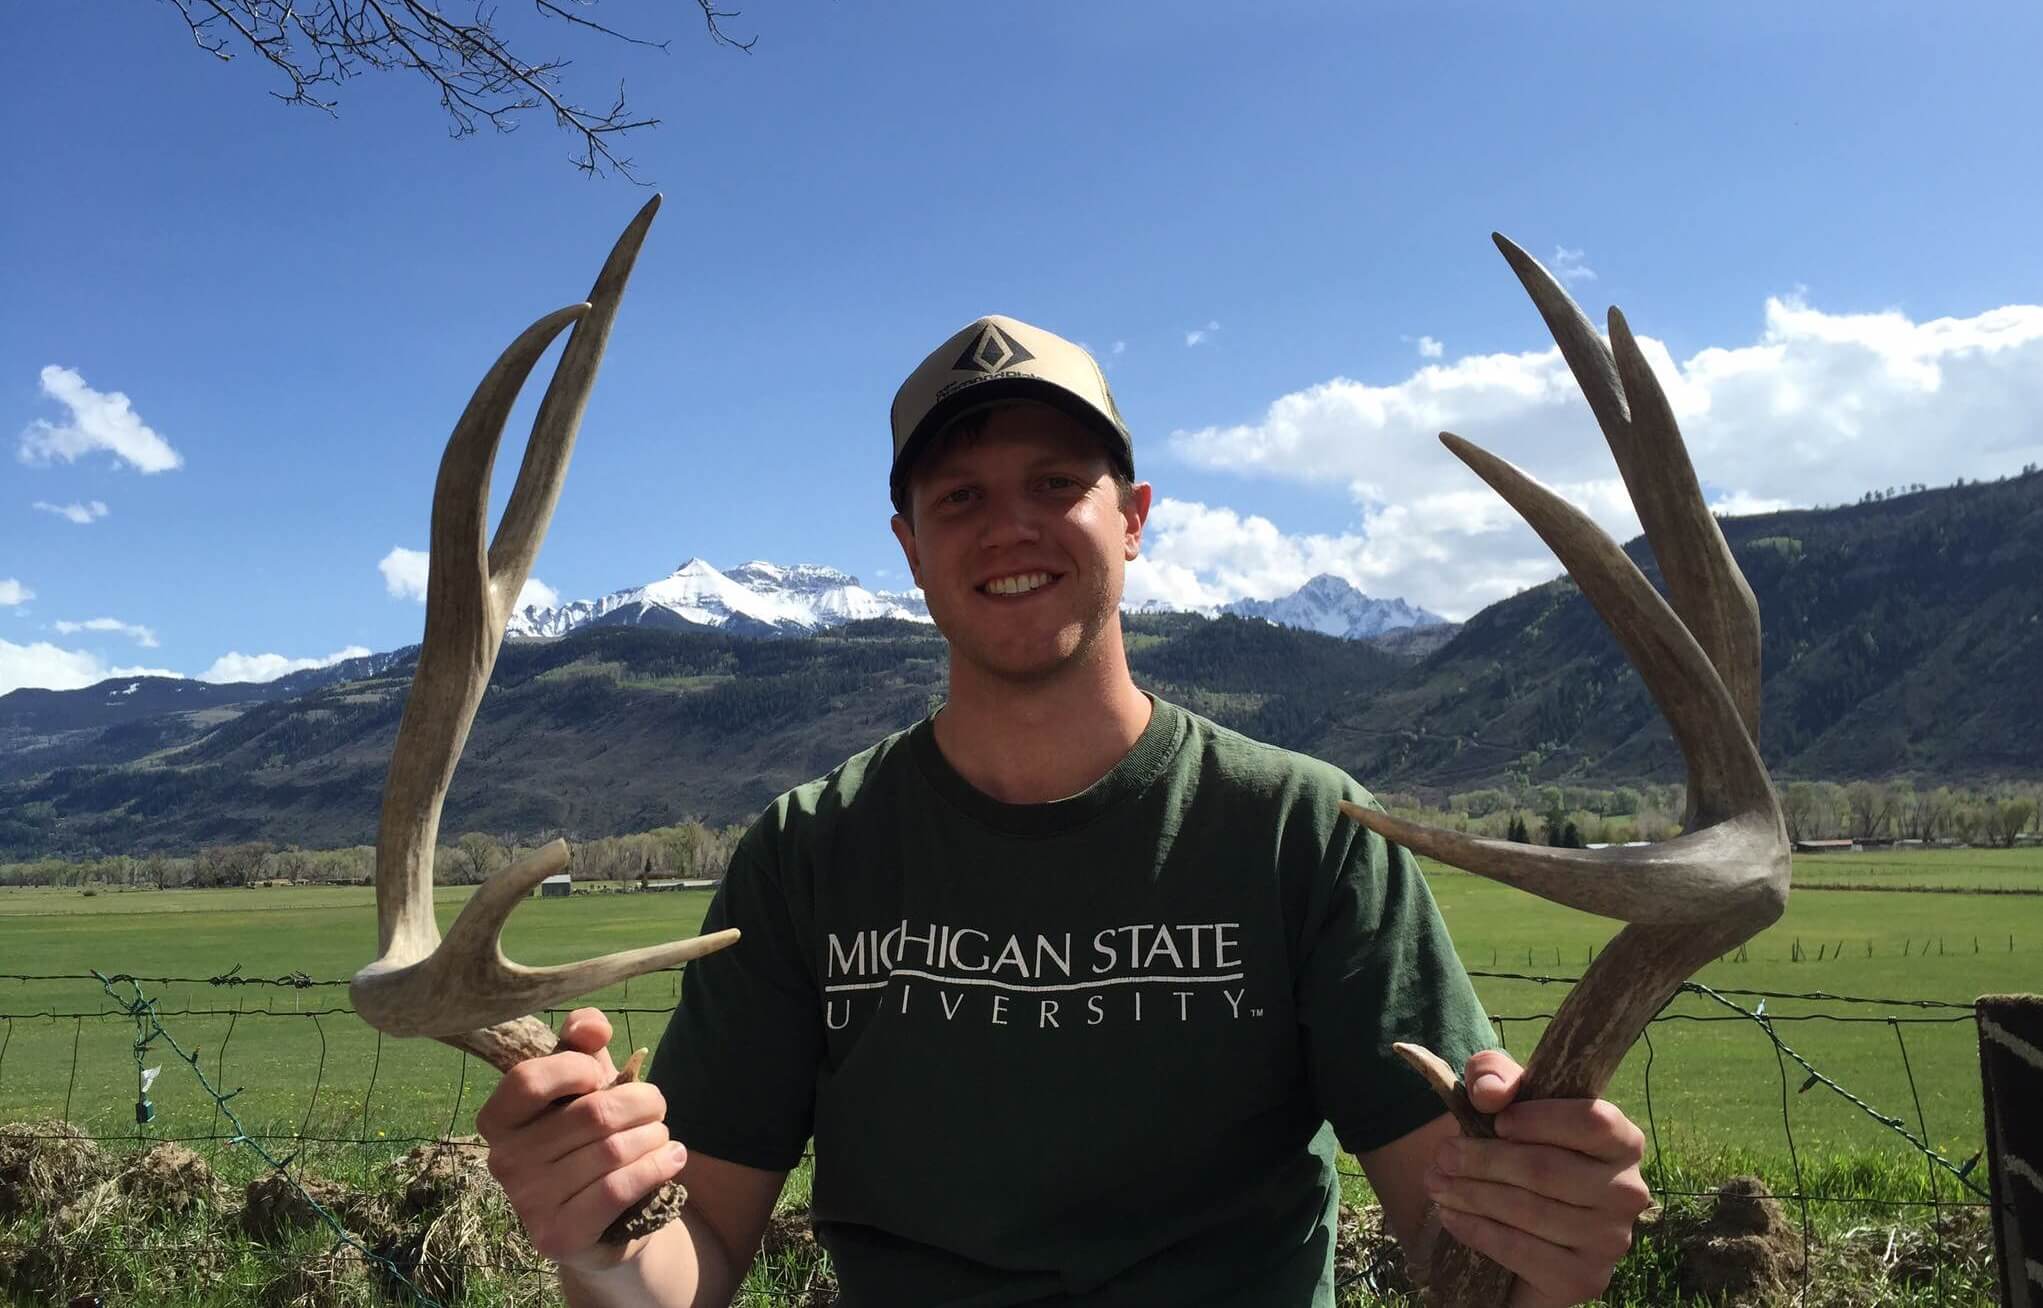
I introduced shed antler hunting to my buddy, Sam, last year and shortly after his first endeavor, he quickly fell victim to the addiction. Fast forward to our first time out together in 2016, I had him beat 6-0 on a four-hour hike in Southwest Colorado. Did I have more luck than him that day? Maybe so, but I don’t think it was a coincidence that I found more antlers than he did. Even though we were walking the same ground in the same area, my years of experience and knack for finding antlers played a key role in my success that day.
Experienced shed hunters know how to maneuver the landscape, adjust their path based on animal sign and have a keen eye for spotting those hard-to-find antlers. I sometimes sit back and watch Sam meander off in a direction while thinking to myself, I would have went the exact opposite way! Does this mean he is a bad shed hunter? No, it just means he is still learning the ropes.

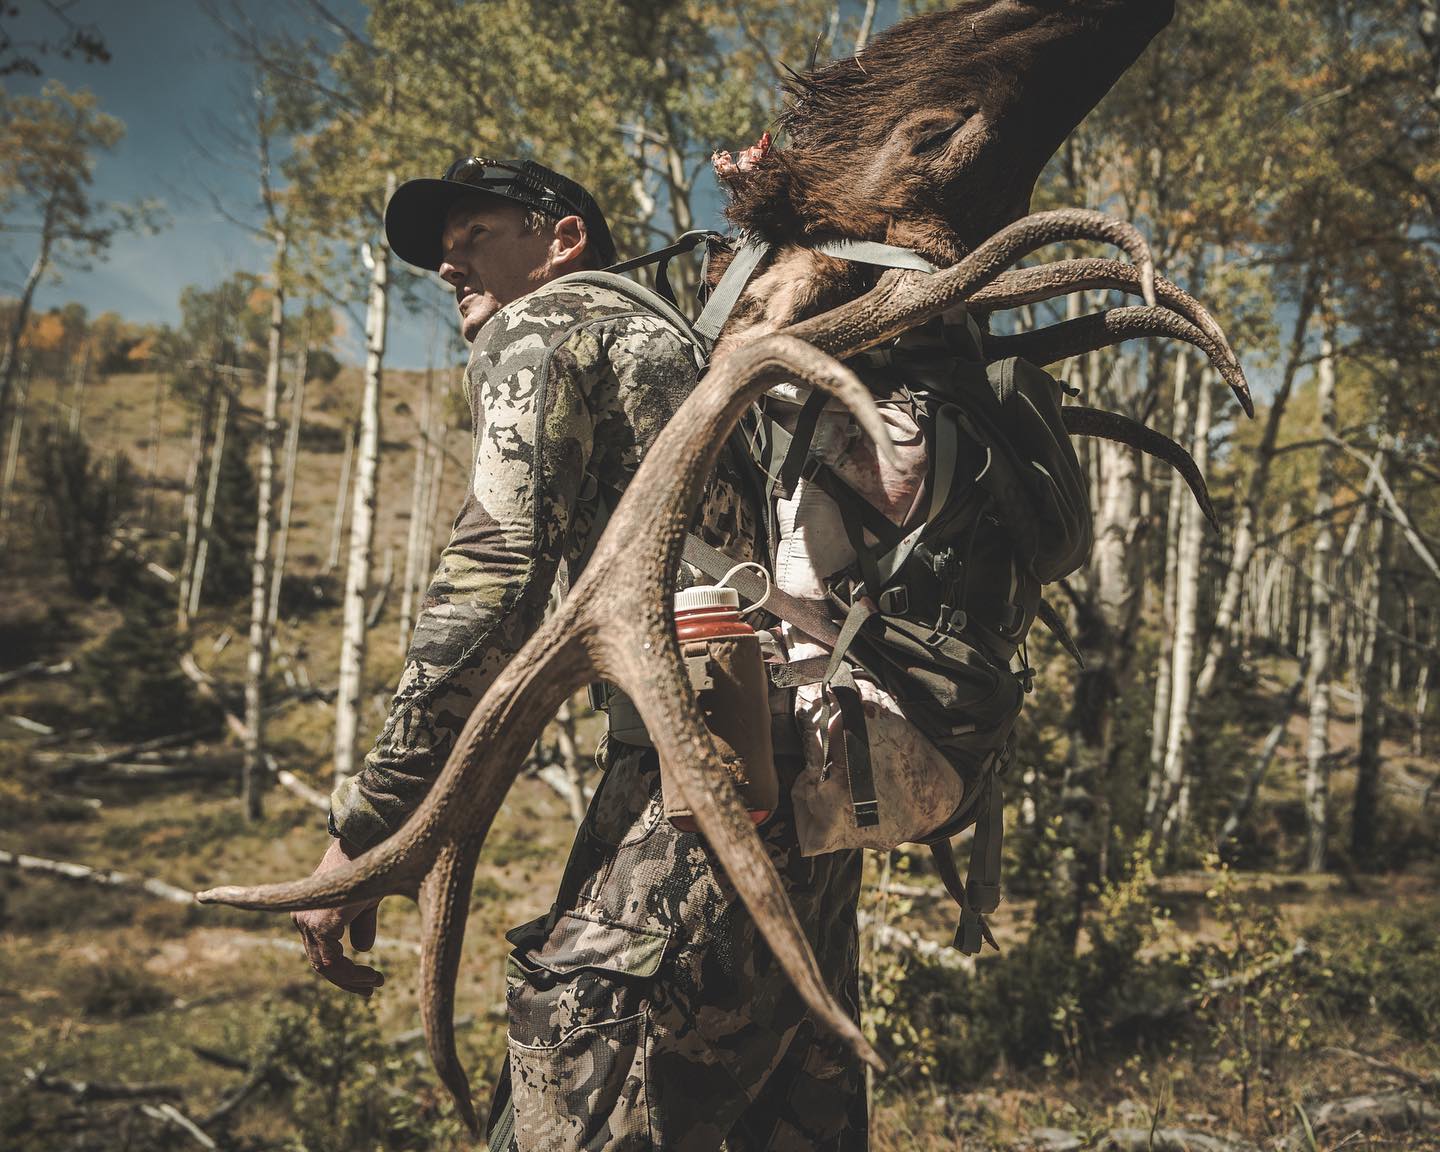
I utilize binoculars to scan a large amount of landscape, quickly and effectively.
Whenever you are shed hunting with someone who has more experience than you, pay close attention as to how they navigate the terrain and how they scan the landscape in front of them. Are they moving quickly or are they taking more of a slow, strategic approach? Is this person following a drainage full of sage brush or are they running the ridge top in a thick cover of pinion pines? Are they glassing often or are they simply putting boots on the ground? Surround yourself with people who are better than you and you will quickly follow suit to shed hunting success.
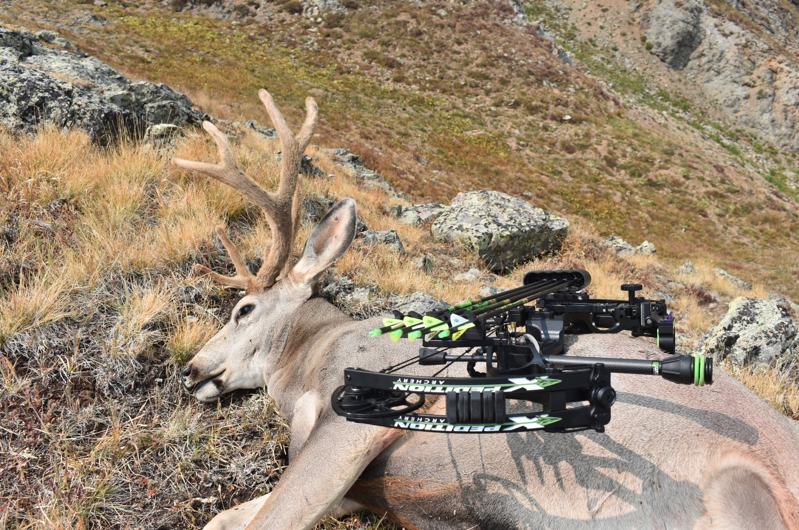
I won’t elaborate too much on this topic but essentially what I am trying to convey here is to concentrate on locating and searching slopes that are South-facing because they have a higher concentration of animals during Winter months. This is because these slopes have less snow and therefore, have more food, which results in more animals using this to their advantage to survive. This is especially true for areas that have experienced a severe Winter with cold temperatures and heavy snowfall.
You will also notice if you utilize the Google Earth species map overlay mentioned earlier in this article that many of the South-facing slopes have a high concentration of wintering deer and elk herds. I’m not saying to completely rule out all other slopes but as a general rule of thumb, slopes that face South will be much more productive than others.
No matter how many miles you put on the ground in the most productive areas with the most amount of animals, if you don’t have the eye for spotting an antler, everything else is obsolete. Finding an antler laying on the ground is similar to finding a needle in a haystack; they can be very tough to spot. For the inexperienced shed hunter, it is important to train the eye.
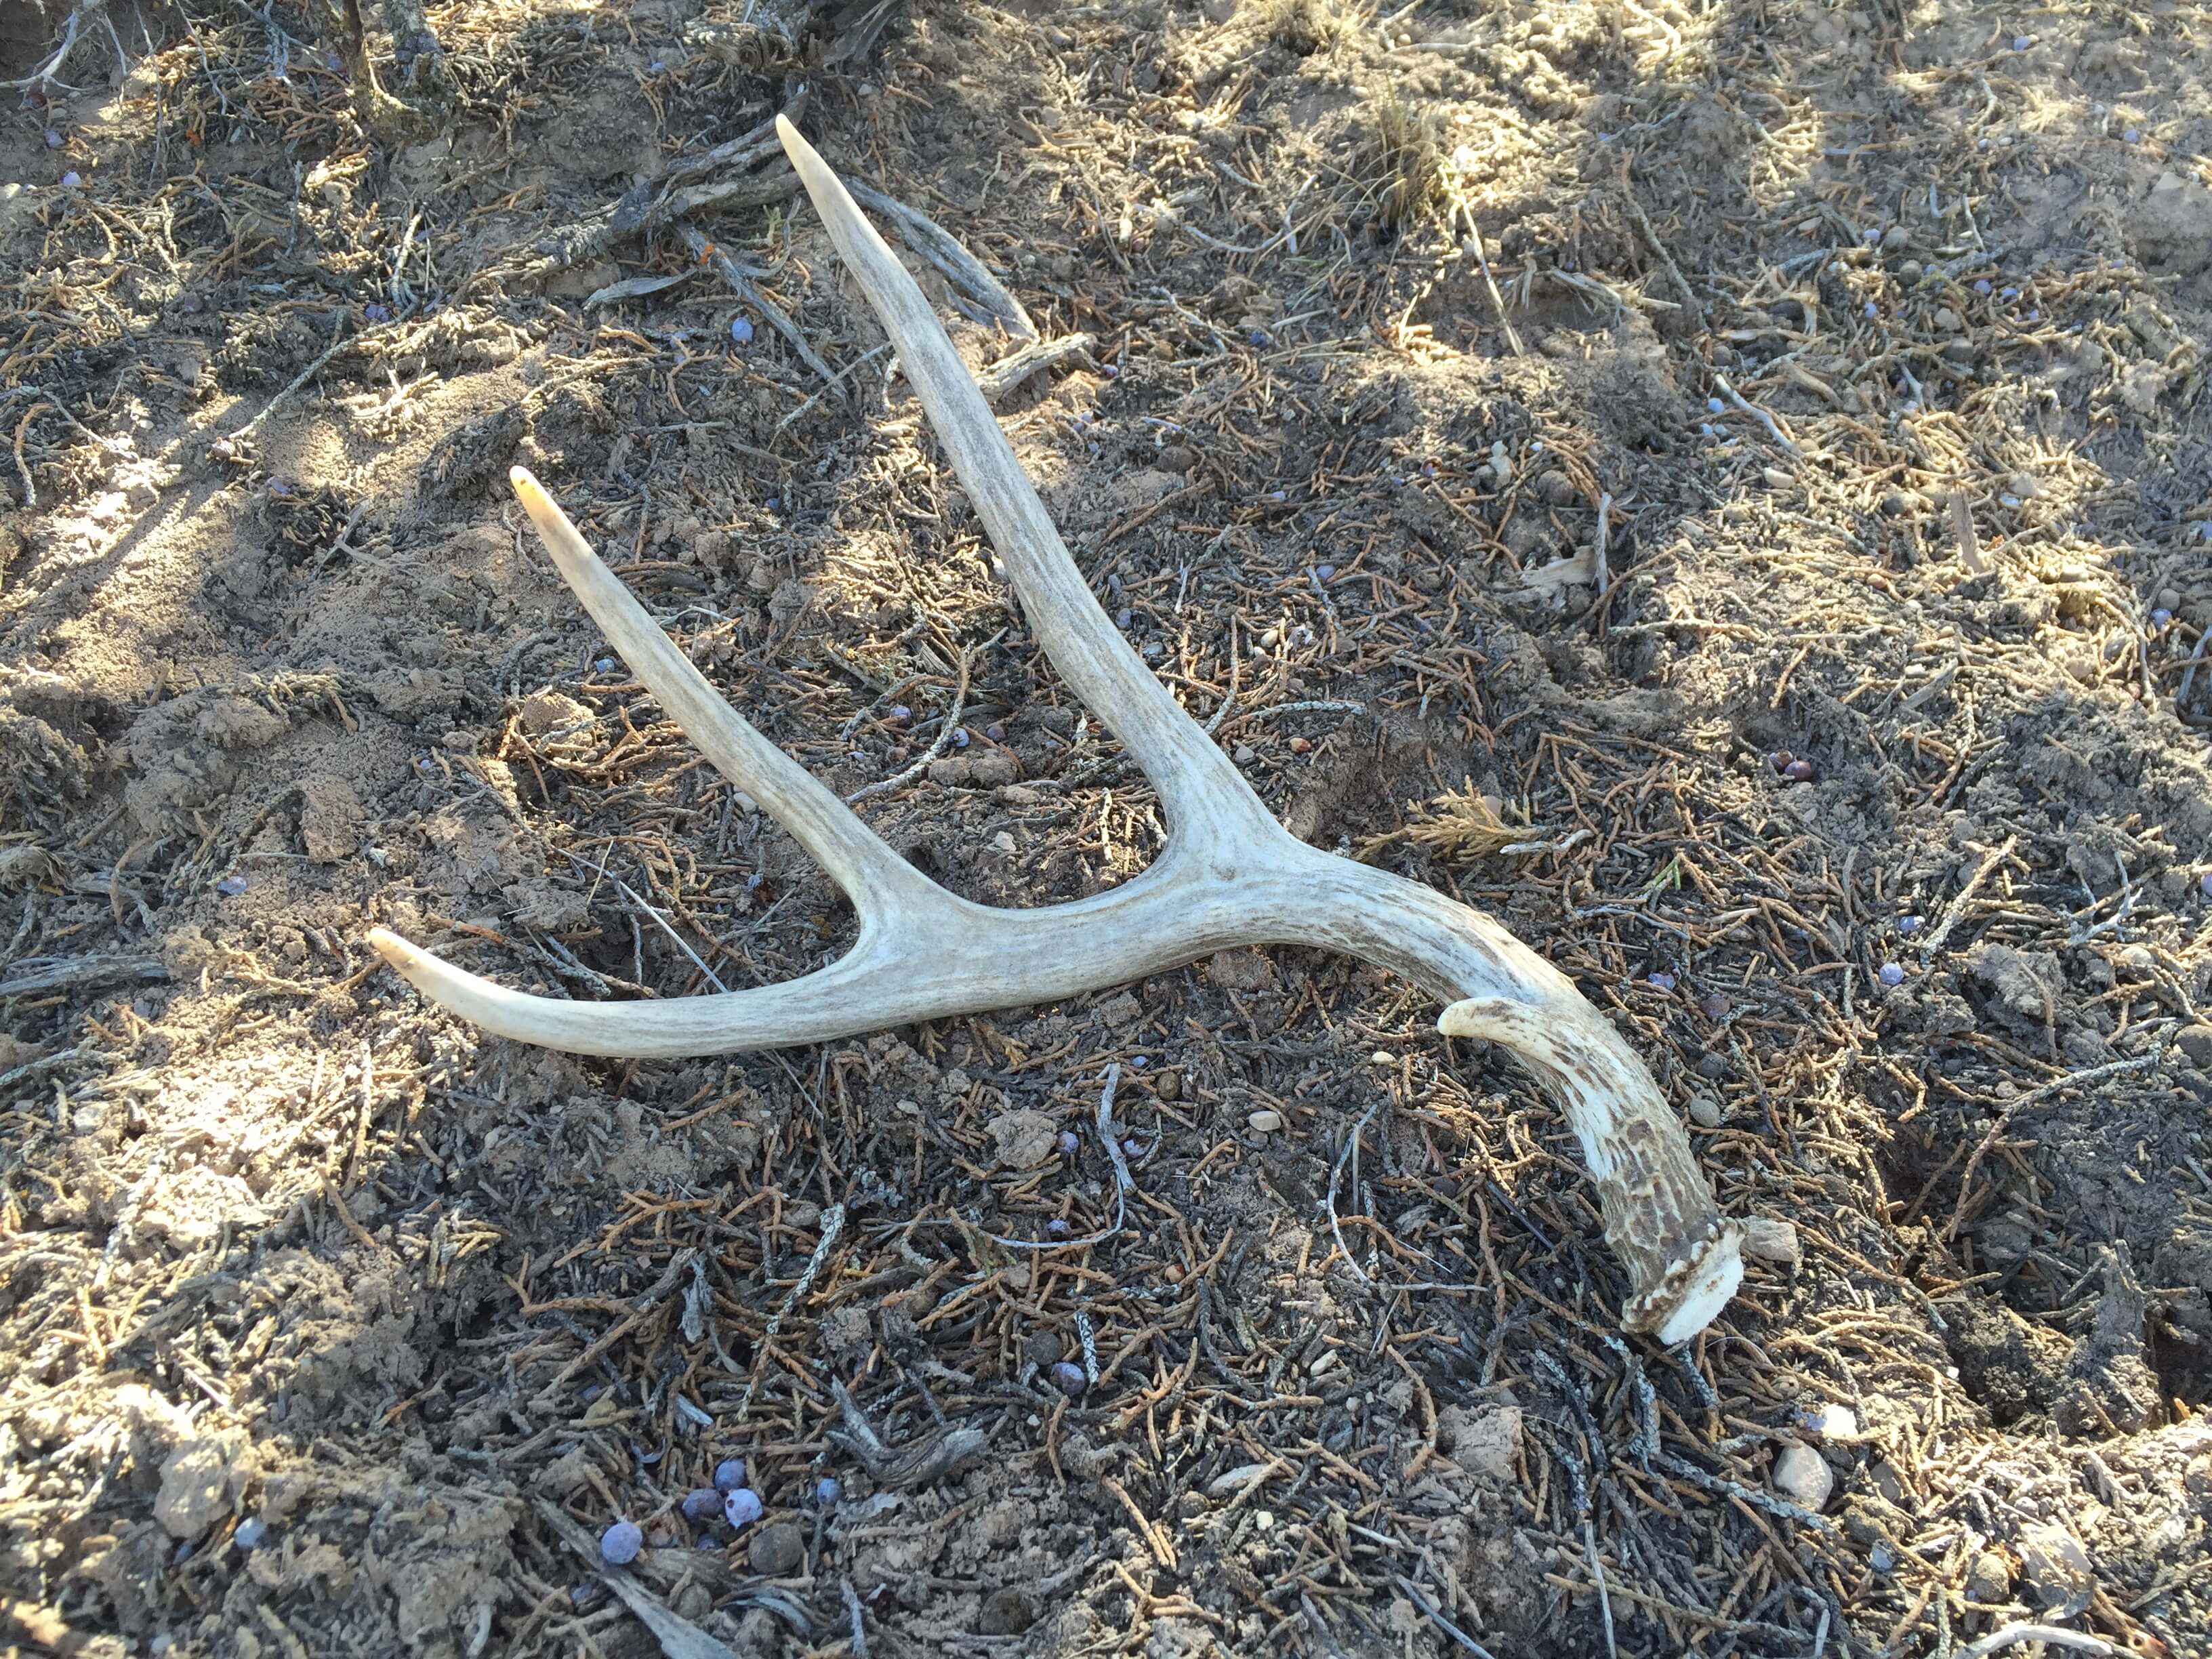
I found this small mule deer shed in a bedding area on a south facing slope, laying underneath a juniper tree.
The majority of times you will not spot the entire antler as a whole but most likely a small portion of a tine, main beam or antler base. A strategy I used in my early years was to close my eyes, throw a shed into a thick area and walk towards it to see how quickly I could locate the antler. With each throw it would land in a different position; tines up, tines down, facing away, partially hidden, fully exposed or sunk in the mud, forcing my eyes to pick up on those differences. This tactic may sound silly to some but for the inexperienced shed hunter, it is a valuable practice to implement.
If you are looking for another unique way to train your eyes, check out this picture-based article from Wired To Hunt. Although this piece applies more directly to whitetail shed hunting, antler characteristics throughout all species remain relatively the same.
There’s no substitute for the real deal which means getting outside and putting boots on the ground. Hopefully, you have a few takeaways from this article and can put them to use on your own shed hunting endeavors this year. Before too long you will begin to hunt smarter, not harder and become more proficient at finding shed antlers in the Colorado high-country.
I would love to hear some of your shed hunting strategies and tactics that you use to find antlers – share them with me in the comments below!


 Previous Post
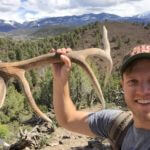 Next Post
Pingback: “New School” Tips For The Beginner Shed Hunter |()
Pingback: Colorado Elk Shed Hunting Tips – Transition Wild()